Overview
Some phone models have the front camera that cover the screen. And if we render our UI elements at the top of the screen. Sometimes, it will be blocked by the front camera. One of the terms I learnt today was “Safe Area”, which is a guaranteed area for the UI elements to display properly. Every device have its own safe area, so here’s a quick guide on how to implement the fix in Unity.
Getting Started
1. Installing Device Simulator Devices Package
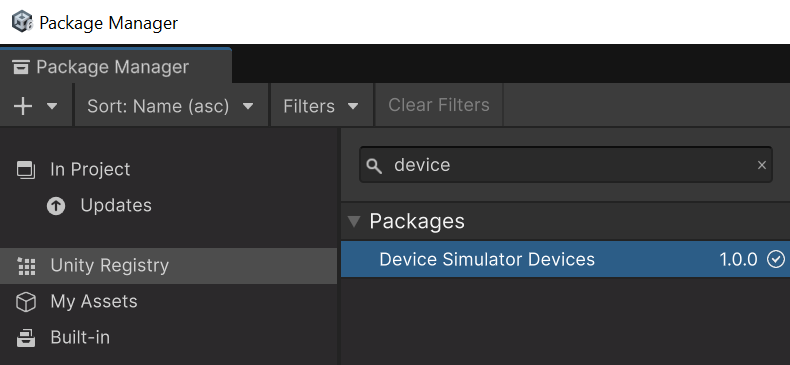
First, you should install “Device Simulator Device” package which is provided by Unity for free. This can give you a quick preview on whether your UI designs are displayed properly on various mobile devices.

In your game scene window, toggle to simulator window, enable “Safe Area”. You should get the following view.

You can now change the devices to test your UI design. That’s great!
2. Adding a Safe Area Script
Next, you will need a safe area script. Thankfully, there isn’t a need to create one, as Crystal Pug Game Studio have kindly provided their Safe Area Helper script as a free asset for us to use. So thank you Crystal Pug and please do support their games!

Simply install the package in your unity project. Create an empty GameObject that parents your UI components inside a canvas, and add a Safe Area script to it, as shown in the example above. You won’t see the changes in the simulator, but it will be applied when you press the “Play” button.

Credits
That’s it! The implementation is based on these tutorials on youtube! Do give them your support!
- Unity UI Mobile Safe Area | Make UI visible on all resolutions and devices
- Unity Tip #2 | Use the DEVICE SIMULATOR for better mobile design
Hope this tip was useful to you :) All the best with your game development~