Getting Started
To create a ring with outer glow in Krita, these are the steps
1 Create a new document
The document should have the following settings
- Width: 1024px
- Height: 1024px
- Resolution: 75pxi
- Background Canvas: Black
2 Create New Vector Layer
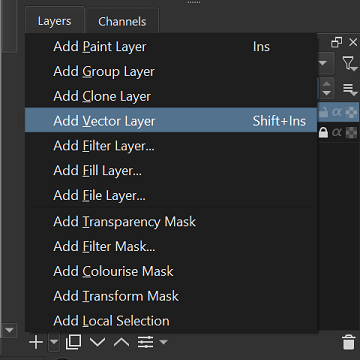
- Under the layer settings, create a new vector layer
3 Draw a Circle on the Vector Layer
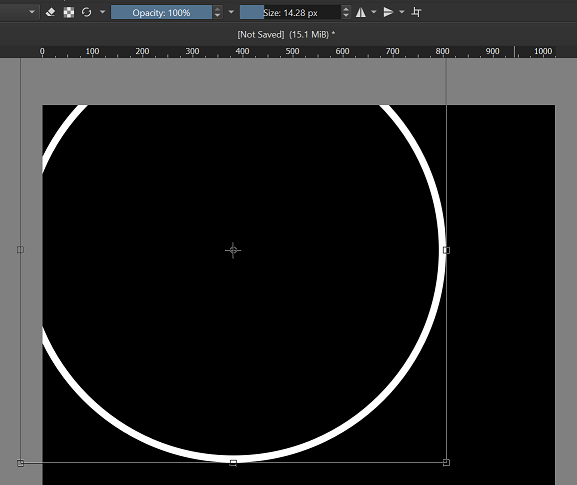
- Select the Ellipse Tool
- Select White Color
- Select Brush Size of 15px
- Draw the circle (click + Shift + click)
- Press Ctrl + T and click on the circle to move/resize it
4 Center the Circle
Start by creating the guides for the background canvas as shown below.
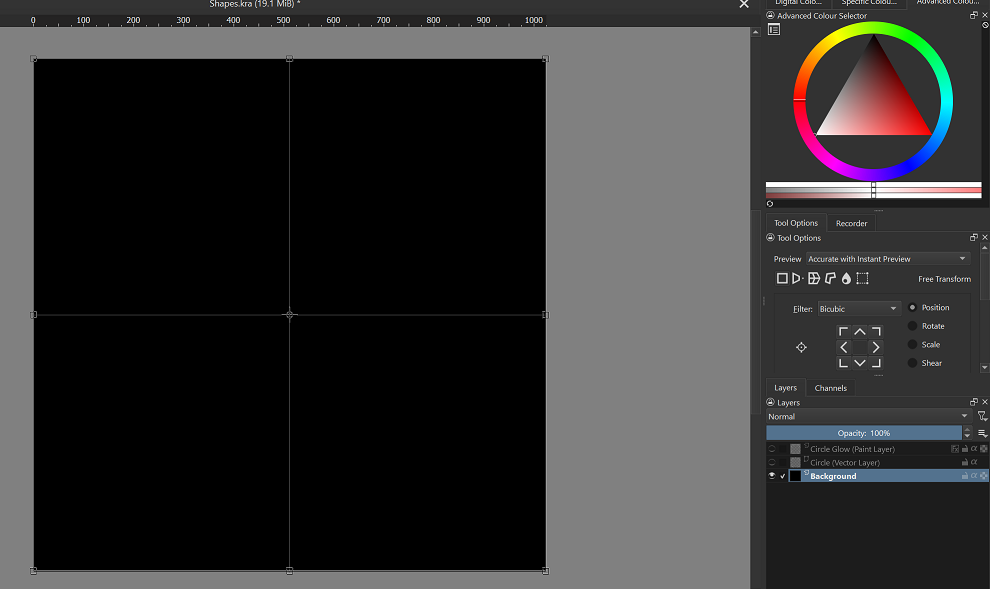
- Select the background canvas and unlock it
- Press Ctrl + T and click on the background canvas, you should see the guides
- Drag the ruler to the center of the canvas as shown in the image above
Next, to move the circle…
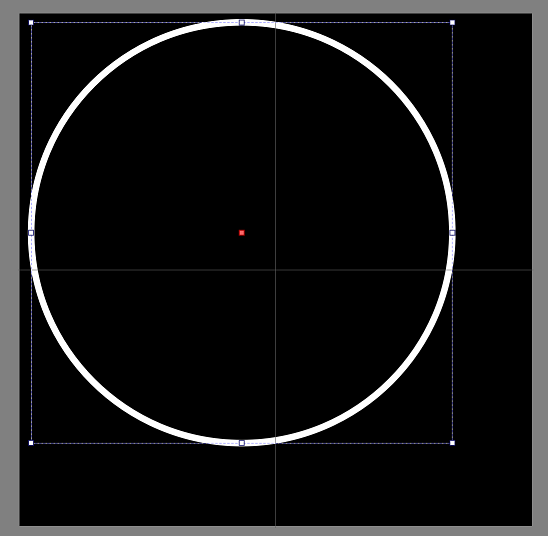
- select the vector canvas
- using the select shapes tool (arrow), click on the circle, drag the red box to the middle of the canvas
5 Creating the Outer Glow
In order to add outer glow, we have to first convert the vector canvas to a paint canvas.
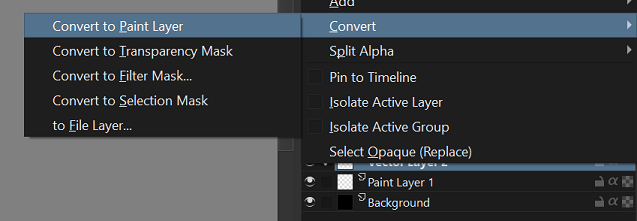
- Select the vector canvas
- Right click –> Convert –> Convert to Paint Layer
Next, enable outer glow in layer styles
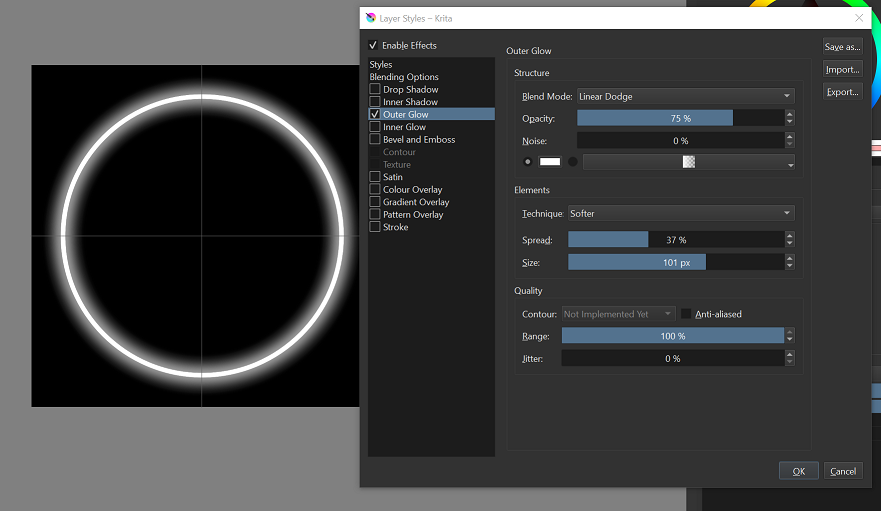
- Right click on the layer -> select Layer Styles
- Set the Size to 100px
- Set the spread to 37%
That’s it! You should have a circle with outer glow~