Intro
Quick Refresher on how to create wrap around textures in Krita like the one below.
Getting Started
Step 1: Create a New Document
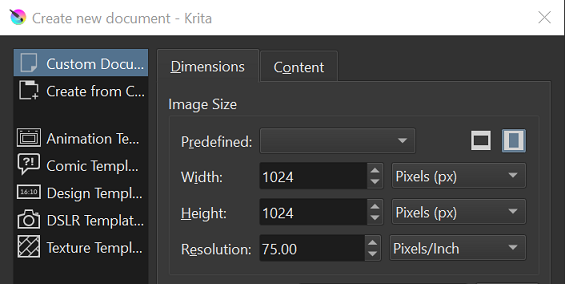
Start by creating a new document (width = 1024px, height = 1024px, resolution = 75 pxi). After creating the document, ensure that you have 2 layers (1 black background layer and 1 paint layer) as shown in diagram below.

Step 2: Draw Texture
With the Paint Layer selected, press Shift + W to enter Wrap Around Mode.
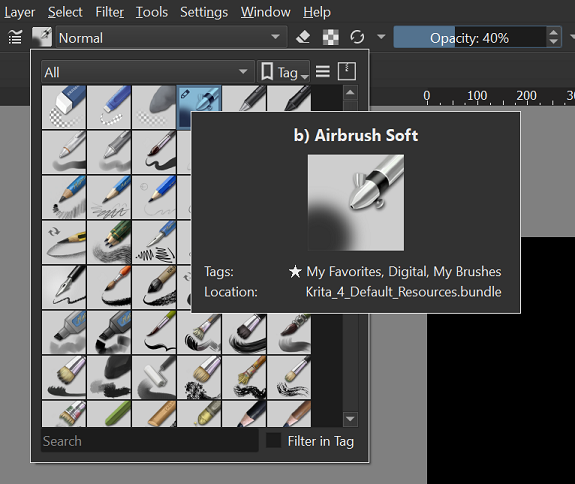
Now, select the brush - AirBrush Soft, and set opacity = 40% as shown in diagram above. Set your brush colour to White and draw your texture. Start by creating a simple sketch of the texture you want.
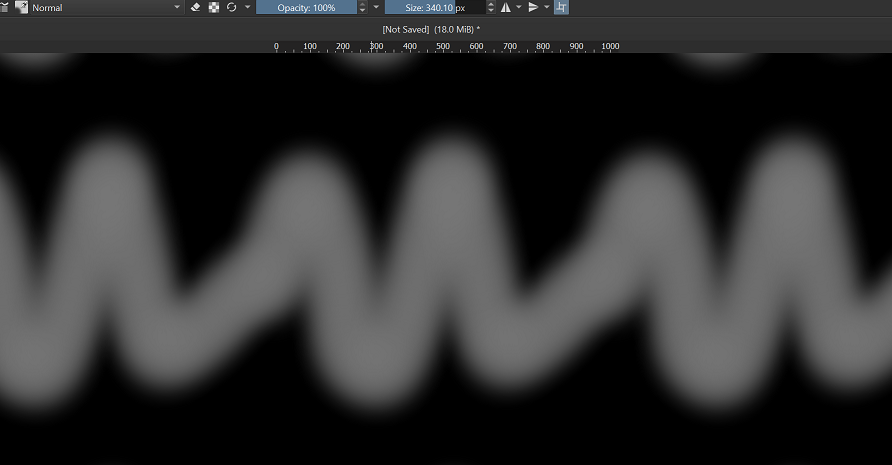
Add “layering effect” by drawing over the texture using different brush size.
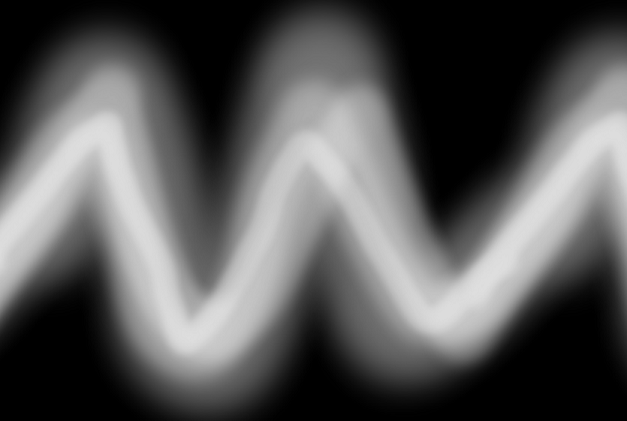
Step 3: Touch up the Texture
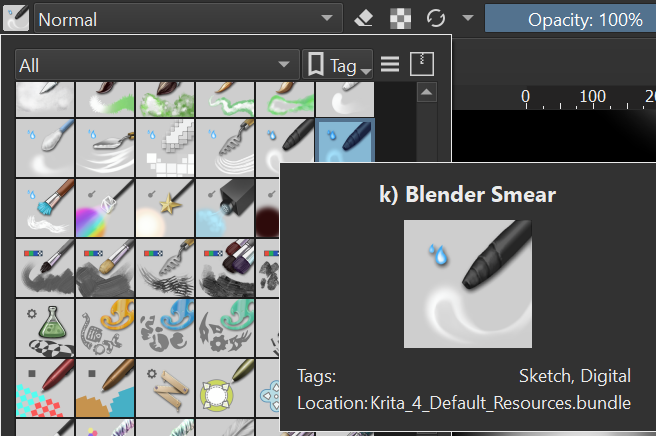
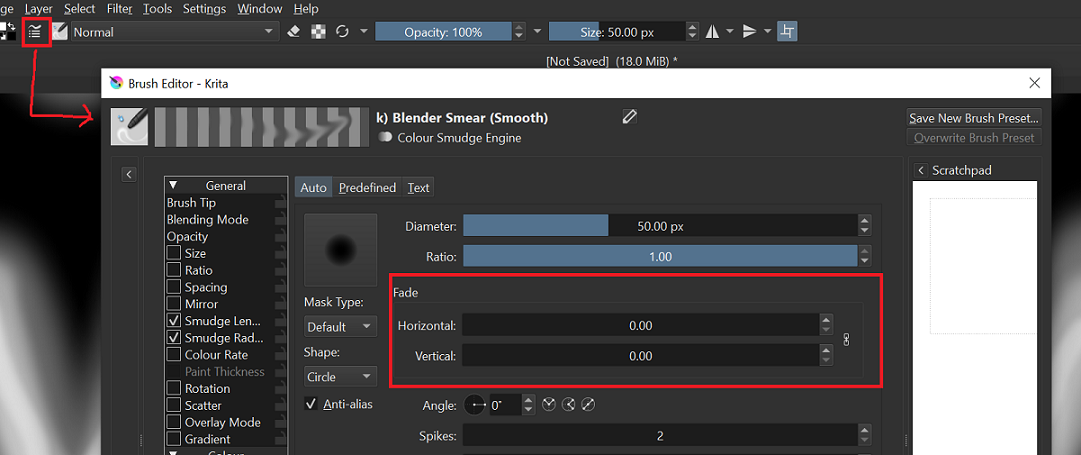
Clean up the texture by using the brush Smear Brush. Set the Horizontal & Vertical Fade to zero, with opacity around 20-40%
Step 4: Finishing up
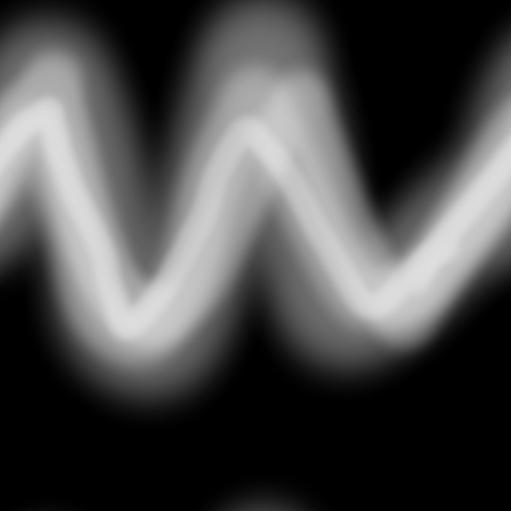
Shift + W to get out of wrap around mode. In the event your texture is off center, you can move it by using the Move (T) tool. Press T and click on the layer, you should see a green box, move the layer to where you want it to be.
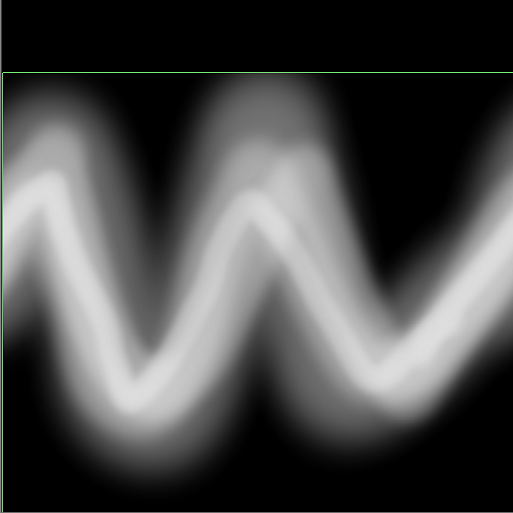
That’s All!
That should be all you need to create a wrap around texture. This is a technique which I picked up after attending a course by Gabriel Aguiar. Check out his courses if you are interested to learn about VFX.